Need any help or advice?+44 (0)1782 454499
PRODUCTS USED IN THIS PROJECT
Although not necessarily an exhaustive list, the following tools and materials, supplied by Easy Composites, were used in this project.
The quantity shown below is the approximate amount used in the project rounded up to the nearest available kit size or quantity.
REINFORCEMENTS
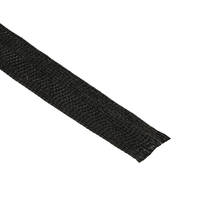
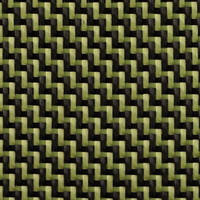
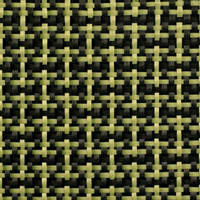
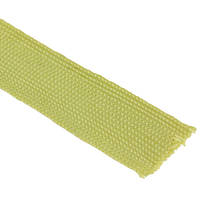
MATERIALS & CONSUMABLES
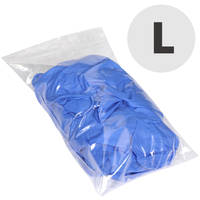
VIDEO TUTORIAL
How to Repair a Damaged Composite Canoe or Kayak
In this easy-to-follow video tutorial we show our recommended process for how to repair a kayak with light to medium structural damage to a carbon/Kevlar.
The same process can be used for the repair of light to medium structural damage to any composite canoe, kayak or small boat including those made from glass fibre, carbon fibre, aramid fibre and diolen.
To make finding the right products easy, all the materials used in the video are available to buy online and are shown in the 'shopping list' on the right hand side of the page.
TUTORIAL BREAKDOWN
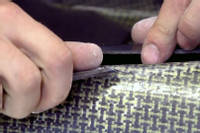
1. Remove any loose or broken resin or fibre
The first step is to remove any fractured, cracked or broken gelcoat, fibre or resin from the area to be repaired. We do this by carefully breaking away the damaged material using a knife or chisel.
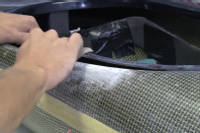
2. Rub down area with coarse abrasive paper
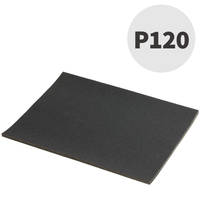
Before any resin is applied, it is essential to 'key' the area to be repaired using a coarse abrasive paper. We recommend a 120 grit paper. Ensure you rub down the whole area to be repaired; any areas not prepared in this way will be very difficult for the repair to bond to.
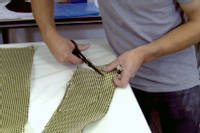
3. Cut reinforcement for repair patches
Work out the size of the repair patches required. We recommend patching a composite kayak, canoe or boat with the same type of reinforcement that the boat is made from. Not only will this look neater but it will also be a better match for the performance of the surrounding material; expanding, contracting and flexing in the same way. For carbon fibre boats; repair using carbon fibre patches, for glass fibre boats; repair using glass fibre and so on.
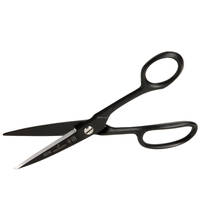
You will find it difficult to cut carbon/aramid hybrid fabrics (such as carbon/Kevlar® or carbon/Twaron®) using normal scissors and almost impossible to cut exclusively aramid fabrics. Kevlar® shears are recommended particularly if you will be cutting a lot of this type of material.
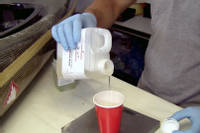
4. Thoroughly mix epoxy repair resin with hardener
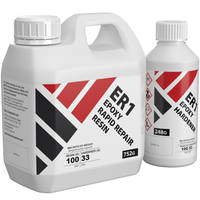
For a repair like this to succeed it is very important to choose the right resin. Epoxy resin will bond far better to any composite boat and make a much stronger repair so should always be chosen over polyester or vinylester resin for repair work. Easy Composites' Rapid Repair™ resin is a modern, high performance epoxy system developed specifically for its high bond and flexural strength. It wets advanced reinforcements (like Kevlar, carbon, diolen, Dyneema® etc.) very well and cures in just a few hours.
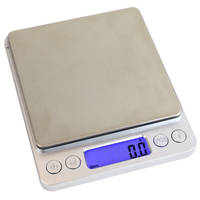
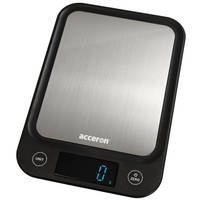
As with all epoxies, ensure that you mix the resin with its hardener at the correct ratio. Ratios provided by Easy Composites are part-by-weight not parts-by-volume so you should use digital scales to ensure accurate ratios.
Mix the epoxy very thoroughly before applying to the repair because any unmixed resin will not cure and so will spoil the repair considerably.
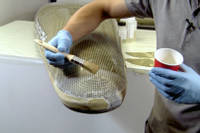
5. Apply a coat of epoxy resin to damaged area
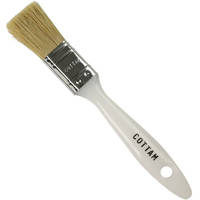
Using a laminating brush, apply the mixed epoxy resin directly to the area to be repaired. Use the brush to ensure the epoxy is well worked into any cracked or exposed areas.
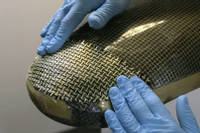
6. Apply reinforcement and wet-out with resin
Place the reinforcement carbon/Kevlar and Kevlar flat braid onto the wet resin. Use the laminating brush to press it down firmly and then wet-out thoroughly using additional epoxy resin.
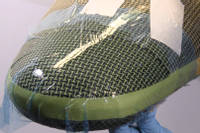
7. Stretch release-film over the repair
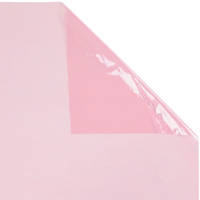
Once the repair has been laid onto the hull, drape a piece of unperforated release film all the way over the repair. Starting at one side, tape the film down to a dray area of the hull and then, pulling the film tight, tape it down to the opposite side of the repair. Continue the process on alternate sides until the release film has been pulled tight and wrinkle-free all the way over the repair.
Once the film is firmly in place, look at the repair through the film and identify any air bubbles. Use your finger or a plastic spread to move any such trapped air bubbles out off the edge of the repair.
8. Leave to cure fully
Leave the resin to fully cure. Depending on the resin and hardener speed you are using this could be anywhere from a few hours up to a few days. Using our Rapid Repair Epoxy the repair should take around 4-6hrs to reach a full cure.
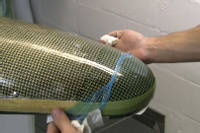
9. Once cured, remove release film
To check the cure of the resin, test a small area on the boat where the resin is thinnest. If you check the leftover resin in the pot it will always be more cured than the resin in places on the part (resin massed in one place will exotherm and cure faster than thinner amounts of resin) which is why you should check a thin area of resin on the part.
Once you're satisfied that the resin has fully cured, remove the peel-ply which will fall away from the cured resin.
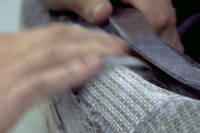
10. Flat any wrinkles prior to final overcoat
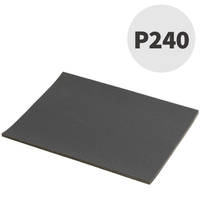
Any wrinkles in the resin can optionally be 'flatted' using abrasive paper such as a 120 or 240 grit. If you’re not concerned about the wrinkles or you don’t have any (because the release film has left a near perfect finish) then skip this step.
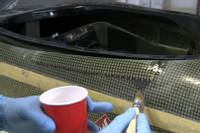
11. Overcoat with a final layer of resin
If you do flat off any wrinkles in your repairs then you must overcoat these areas with another application of the epoxy resin to seal the fibres and leave a glossy, hard-wearing surface.
DISCUSSION (9)
Please share any questions or comments you may have about this video tutorial.
LEAVE A COMMENT OR QUESTION
PRODUCTS USED IN THIS PROJECT
Although not necessarily an exhaustive list, the following tools and materials, supplied by Easy Composites, were used in this project.
The quantity shown below is the approximate amount used in the project rounded up to the nearest available kit size or quantity.
REINFORCEMENTS


MATERIALS & CONSUMABLES


DISCUSSION (9)
Please share any questions or comments you may have about this video tutorial.
LEAVE A COMMENT OR QUESTION
100% SECURE
PAYMENT METHODS


Easy Composites Ltd, registered in England 7486797. All content copyright (C) Easy Composites Ltd, 2025. All rights reserved.
