Need any help or advice?+44 (0)1782 454499
Downloads (1)
| Resin River Table Hand Book |
USED IN THIS PROJECT
Although not necessarily an exhaustive list, the following tools and materials, supplied by Easy Composites, were used in this project.
The quantity shown below is the approximate amount used in the project rounded up to the nearest available kit size or quantity.
MATERIALS & CONSUMABLES
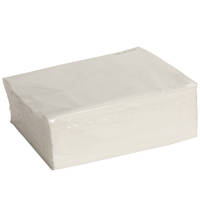
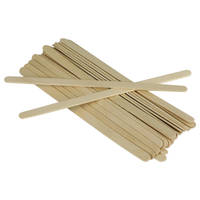
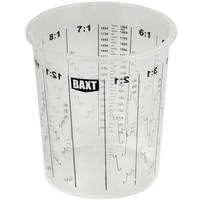
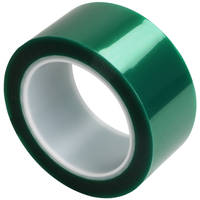
TOOLS & EQUIPMENT

POLISHING
VIDEO TUTORIAL
How to Make a Live-Edge Epoxy Resin River Table
Download our free eBook 'The How to Make a Resin River Table Handbook'
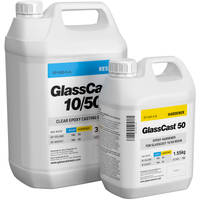
GlassCast® 50 is a new epoxy casting resin from the creators of the famous GlassCast® product. Glasscast 50 is perfect for projects requiring deep, water-clear, bubble-free castings and it's special formulation makes it the ideal product for use with wood - like the stunning resin river tables, knot filling and other furniture projects.
This step by step guide - consisting of the tutorial video and the free downloadable eBook will provide you with all the information you could ever need for making your own live-edge river table, including planning, pouring, finishing and caring for your table. It also includes handy pointers and best-practise tips. Here are the steps in brief:
TUTORIAL BREAKDOWN
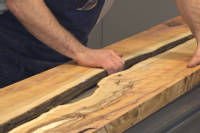
1. Before you begin
To start your DIY resin river table project you will need to choose your wood, it needs to be as dry and flat as possible and the more interesting the wood the better for this type of project, however this will depend on your personal taste. If you don't have access to a professional workshop you can ask your wood supplier to plane the wood to your chosen thickness and cut it in half ready to create the river channel. You will need to have access to various tools and materials and it is very important that you work in controlled workshop conditions to achieve optimum results - like a dry heated workshop and room temperature GlassCast® 50 throughout the working and curing time.
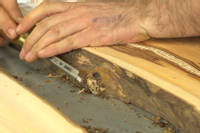
2. Preparing and stabilising the wood
For this conventional DIY live-edge resin river table the step by step guide assumes that the wood has a live-edge or waney-edge and is split down the middle then turned over and inverted so that with the gap for the river it forms an accurate rectangle. If the live-edge has bark or loose material on it this will need to be completely removed so that when the resin and wood meet they will form a strong chemical bond. The best way to do this is to remove the loose material with a chisel, then abrade the surface and remove any dirt/dust.
If your wood has any splits, cracks or knotholes on the underside these will need to be filled with a small batch of resin (those on the table-top can be filled when the main pour is done). You may need to top-up these small pours as the wood will soak up some of the resin. Flash/release tape is ideal for creating a temporary barrier if required as it won't stick to the cured resin, and the aim is to pour to slightly overfill the hole. Once fully cured use a hand-held sander to remove any high-spots.
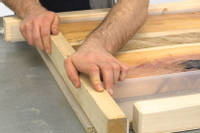
3. Setting up resin barriers
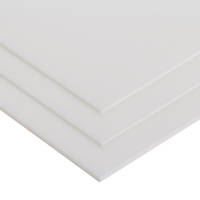
Due to the resin river being largely unsupported you will need to set up a barrier (both base and sides) around the wood, check that these are watertight and made from material that the GlassCast® 50 will not stick to. We used polypropylene sheet which gives a great smooth surface finish and used a hot-melt glue-gun to fix and seal the barriers. At this stage you will need to add additional support to the sides to support the barriers when the weight of the resin is poured in and plan the clamping that will be necessary to hold the planks in position and flat. When you are happy with the set-up remove the clamps and your wood from the container and you are ready to pour!
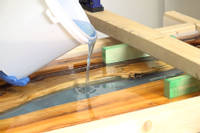
4. Preparing and pouring the resin
We recommend that you measure or weigh out the GlassCast® 50 resin for the entire project if you are adding colour or effects as this will ensure a consistent colour/effect. In the tutorial we added blue translucent tinting pigment - adding a few drops at a time until we reached our chosen colour, we used a tinting pigment so that the resin was still translucent but would look like a river. Then measure out the correct amount of GlassCast® 50 hardener for each pour (do not exceed 25mm depth in a single pour) and mix thoroughly before transferring to a second container and mixing again (this is also known as 'double-potting'). Then the following pours will be made:
- Base Layer & Sealing Coat
- Main Pour - Layer 1
- Main Pour - Layer 2
- Repeat as required
After each pour the resin must be allowed to reach the B-stage - this means that the resin has partially cured and started to become firm when touching the surface (with a gloved finger) you can make a mark but no resin sticks to your finger. Pouring on top of the layer below at it's B-stage will ensure a strong chemical bond - as though the pour was done as a single pour.
Remember, do not exceed the 25mm single pour depth and mix multiple smaller batches as required and use the double-potting method to ensure a thorough mix. The GlassCast® 50 is self-degassing but if you do find that you have any bubbles use a heat-gun or hairdryer on a low heat to help remove them.
Pouring a base/sealing layer before the main pour is the most important advice we can offer - it will completely seal all the faces of the wood and minimise air entrapment. Pour a layer into the barrier container and reposition the wood then using a brush apply a thin coat of resin all over the exposed edges and fill any knotholes or cracks as before. Then add the clamps and fasten into position. Once the B-stage has been reached pour Layer 1 of the main pour and repeat as necessary until the resin is just slightly proud of the river channel then leave to fully cure.
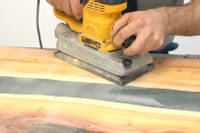
5. Finishing the surface
Once cured, remove the barriers and decide on the final finish you would like to achieve. The tutorial demonstrates a natural wood finish contrasting with a glossy high shine resin river. To achieve this you will need to completely flat the surface of the piece - there are different ways to achieve this depending on the equipment available to you. We used a router set up on a bridge and made multiple passes over the whole surface area. Then using a hand-held sander we worked through coarse to fine grits until a smooth finish was achieved.
The eBook also describes how to achieve a high-gloss finish all over - it really depends on your personal taste, you may even want to leave it with an opaque look after sanding.
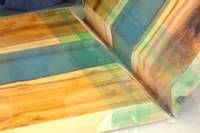
6. Cutting and bonding the sides
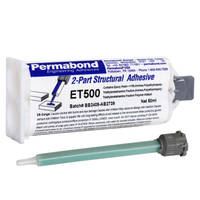
We wanted to create a coffee table with a waterfall effect using sides made from the piece of wood and resin rather than separate legs, to make it look like the river flows all through the top and sides. We created mitred joints using a 45° blade angle and brought the joints together using a clear epoxy adhesive - Permabond ET500 Using release tape to all sides of the joint to create a hinge then applying the adhesive and clamping at a 90° angle whilst the adhesive cures.
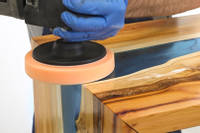
7. Finishing and polishing the wood and resin
Firstly it is important to seal the wood to protect it from the resin polishing process. Whether you use a stain, wax or oil is down to your personal preference - we used a clear danish oil and applied it with a lint-free wipe.
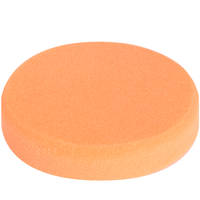
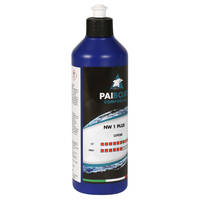
Finally we polished the resin river using Pai Cristal NW1 polishing compound and a hand-held polisher. Liberally apply the polishing compound to the resin and polish, topping up the compound as required until a full gloss is reached, then wipe down with a soft clean cloth.
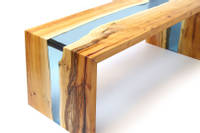
8. After-care
Tips to care for and prolong the stunning appearance of your resin river table include:
- Not placing hot objects directly onto the surface, make sure you use heat proof mats.
- GlassCast® 50 has been designed to have the best UV stability of any epoxy resin on the market and will withstand years of indirect sunlight, but should be kept away from direct exposure to UV light.
- Repairing scratches and marks - repeating the finishing and polishing steps it is possible to restore the surface to a high-gloss finish if it is damaged.
If you are interested in learning more about the product and alternative ideas go the GlassCast® 50 product page.
DISCUSSION (60)
Please share any questions or comments you may have about this video tutorial.
LEAVE A COMMENT OR QUESTION
Downloads (1)
| Resin River Table Hand Book |
USED IN THIS PROJECT
Although not necessarily an exhaustive list, the following tools and materials, supplied by Easy Composites, were used in this project.
The quantity shown below is the approximate amount used in the project rounded up to the nearest available kit size or quantity.
MATERIALS & CONSUMABLES


TOOLS & EQUIPMENT


POLISHING


DISCUSSION (60)
Please share any questions or comments you may have about this video tutorial.
LEAVE A COMMENT OR QUESTION
100% SECURE
PAYMENT METHODS


Easy Composites Ltd, registered in England 7486797. All content copyright (C) Easy Composites Ltd, 2025. All rights reserved.
